1. Create an App
Go to your organization Dashboard and start by creating a new App. Give it a name and select type: Chatbot.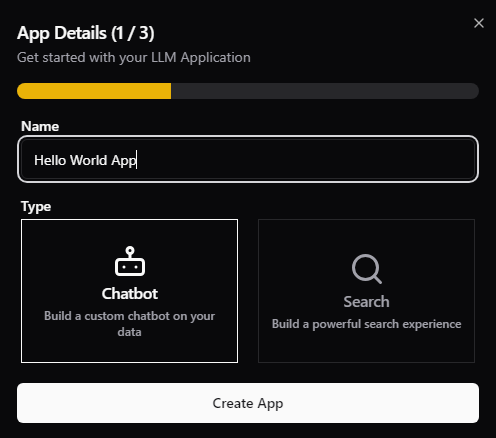
2. Connect to Datasource
A Datasource is a collection of data that will feed your app. You can add multiple files or Data Entities to a Datasource. Connect your app to an existing Datasource or create a new one.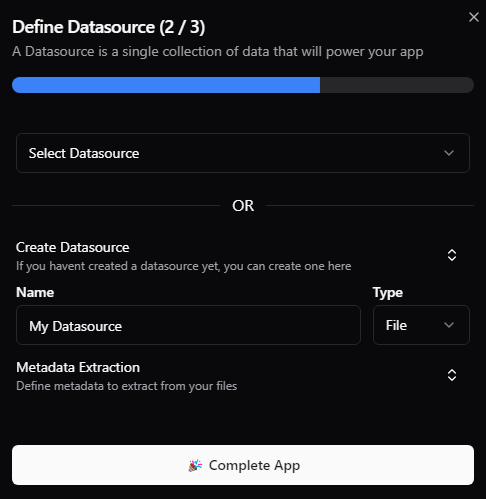
3. Add Data Entities
A Data Entity is a single file or entry in a Datasource. Accepted file formats are PDF, DOC, DOCX, XLSX, and CSV. After you’ve added a Data Entity, Metal will create an Index, process the data into chunks, and generate the embeddings that will be used to match the user’s input to the right response.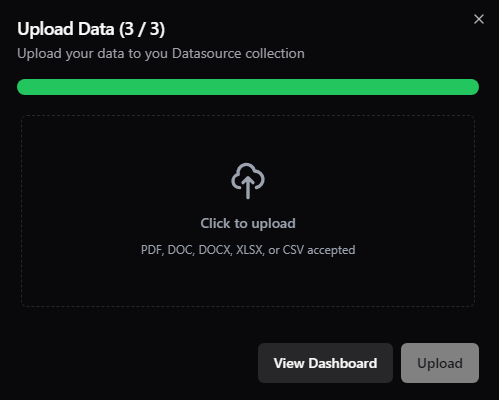
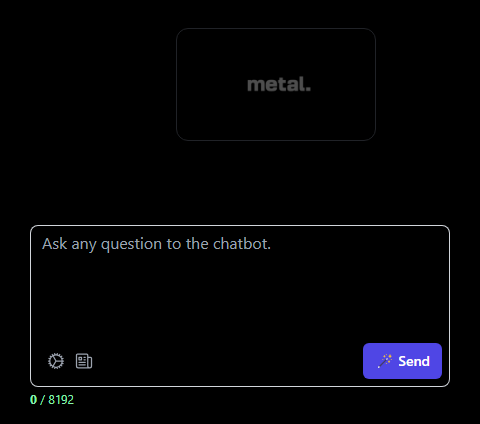
4. Deploy your Chatbot
Try out your chatbot with Metal’s open source Chatbot UI. Start by cloning the repo and following the instructions in the README. You’ll need to add Open AIAPI Key, and Metal’s API key, Client Id and Index Id to the .env.local file.